
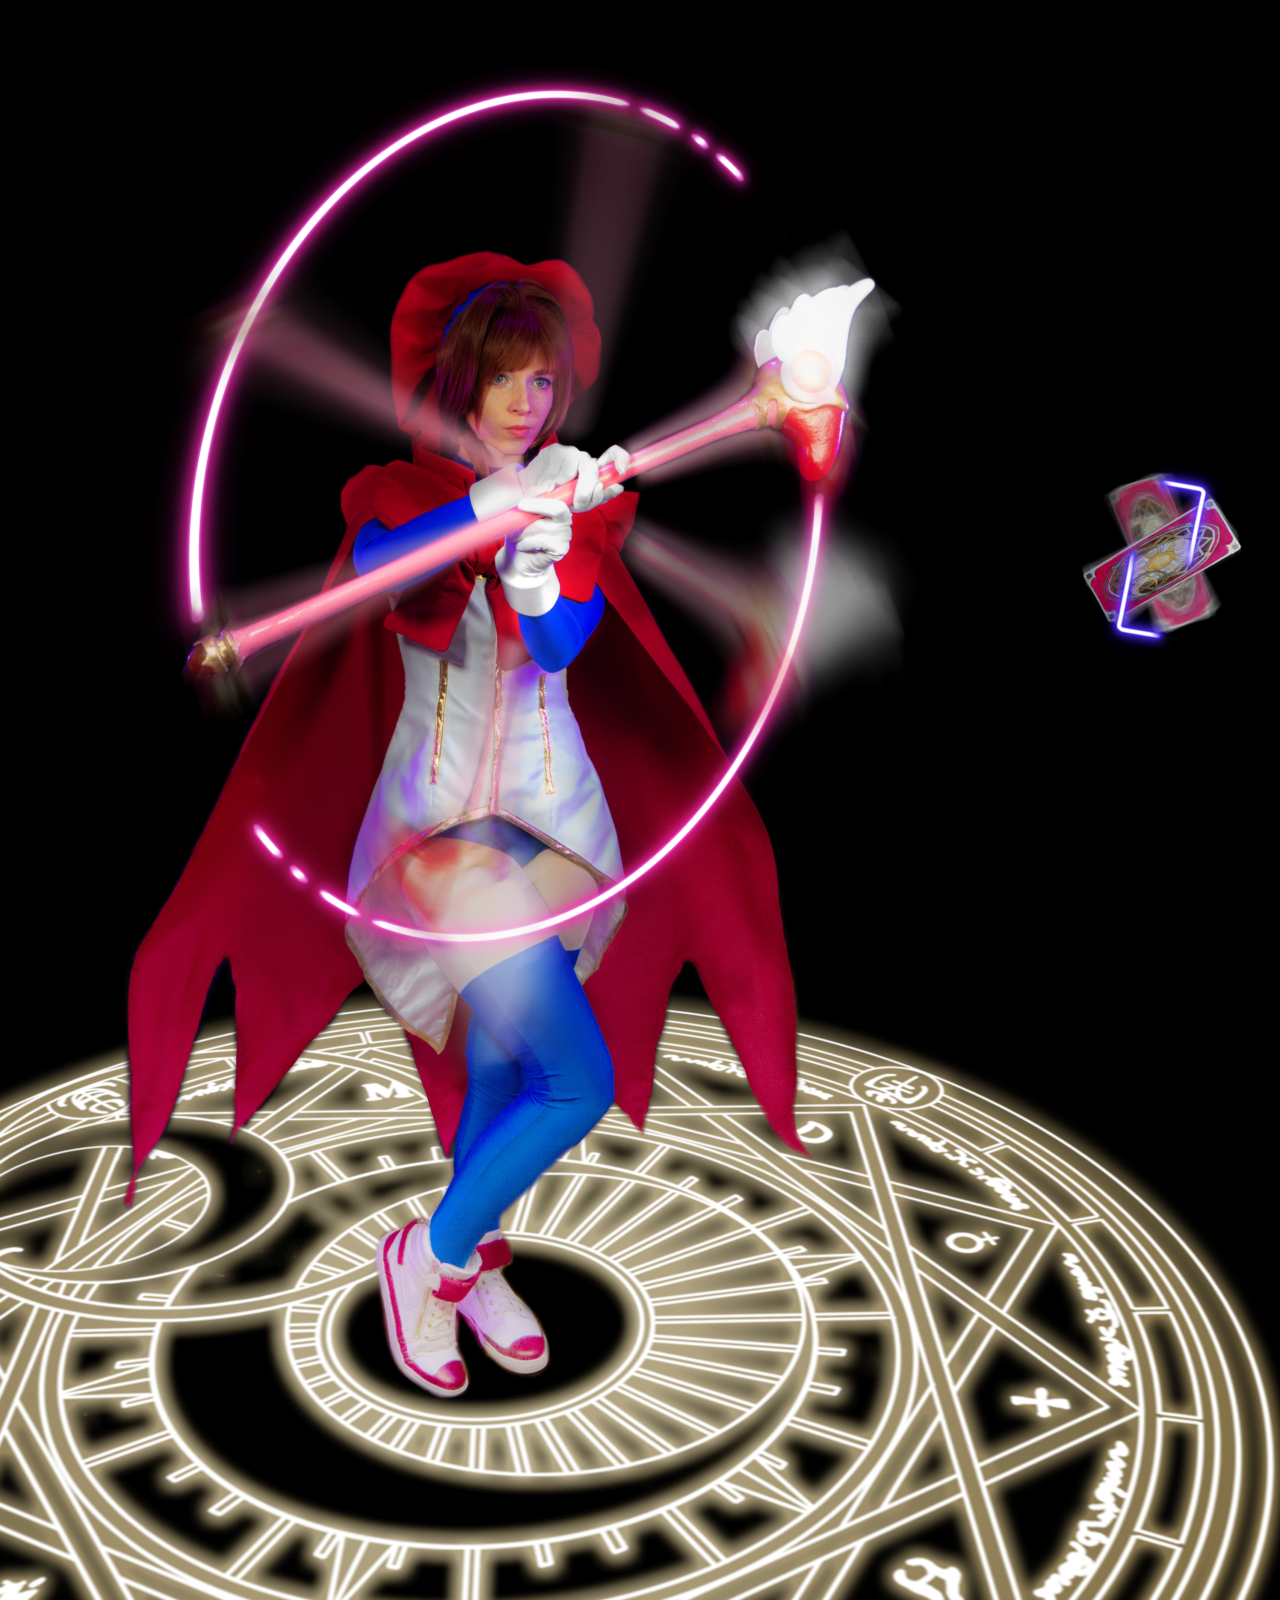
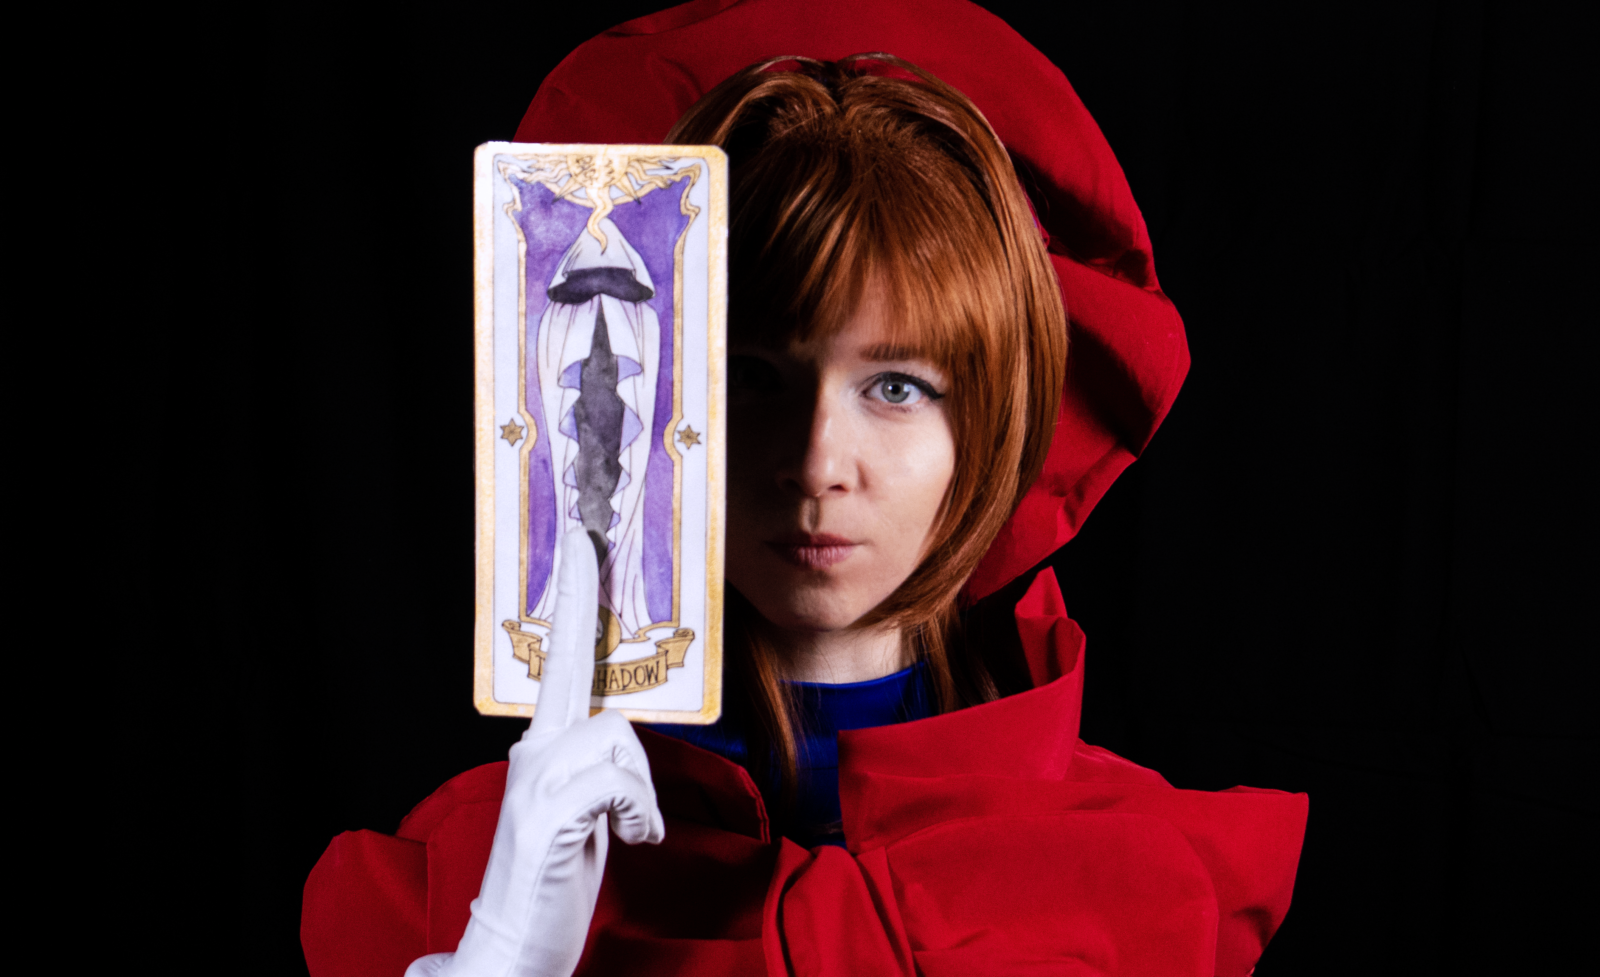
Cardcaptor Sakura has been a cosplay I’ve intended to do for a long time, but given the number of different outfits she wears over the course of the show I’ve always had a hard time settling on just one! For this particular cosplay I chose to make her Episode 2 outfit, the very first one that was made for her, when she captures she shadow card. If you are looking for some information on how to assemble your own, then keep reading!
For information on how I made the wand you can check out my other post!
This cosplay and tutorial was made possible by my generous Patrons, head over to Patreon to check out awesome rewards!

This costume includes many classic Magical girl costume components, gloves, leotard, hat, cape, really big bow; and I put together a pattern for all of them, which you can grab in my store.

For a visual walkthrough of my Cardcaptor Cosplay, check out my youtube video:
Leotard
The base of the cosplay is a leotard, and thigh high socks. I struggled to find blue spandex int he right color, and instead purchased a this unitard online, and adjusted it.
I marked where I wanted the leotard to sit, and how high I wanted the leg sections to be. I then cut out the excess fabric. Now, this resulted in the leotard creeping up and giving me a pretty significant wedgie, while the leg portions would just slide down.
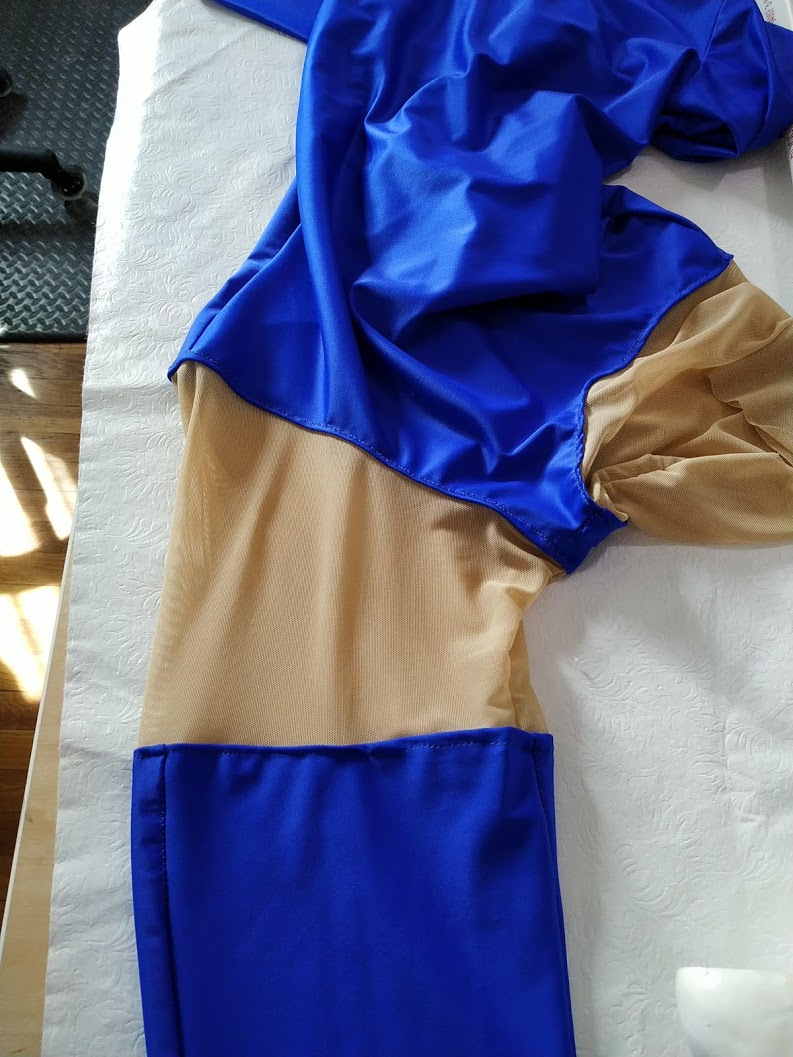
To remedy this I used power mesh (sometimes called flesh mesh), to turn it back into a unitard but make it still look like two pieces. I top stitched the blue fabric to the mesh to make the fabric look like it was sitting on top. I think this worked out super well!
I thoroughly recommend using power mesh as a way to keep things together, while making it look like skin is showing. It’s a really neat trick they use in gymnastics, ice skating, dance and other costuming all the time!
Vest
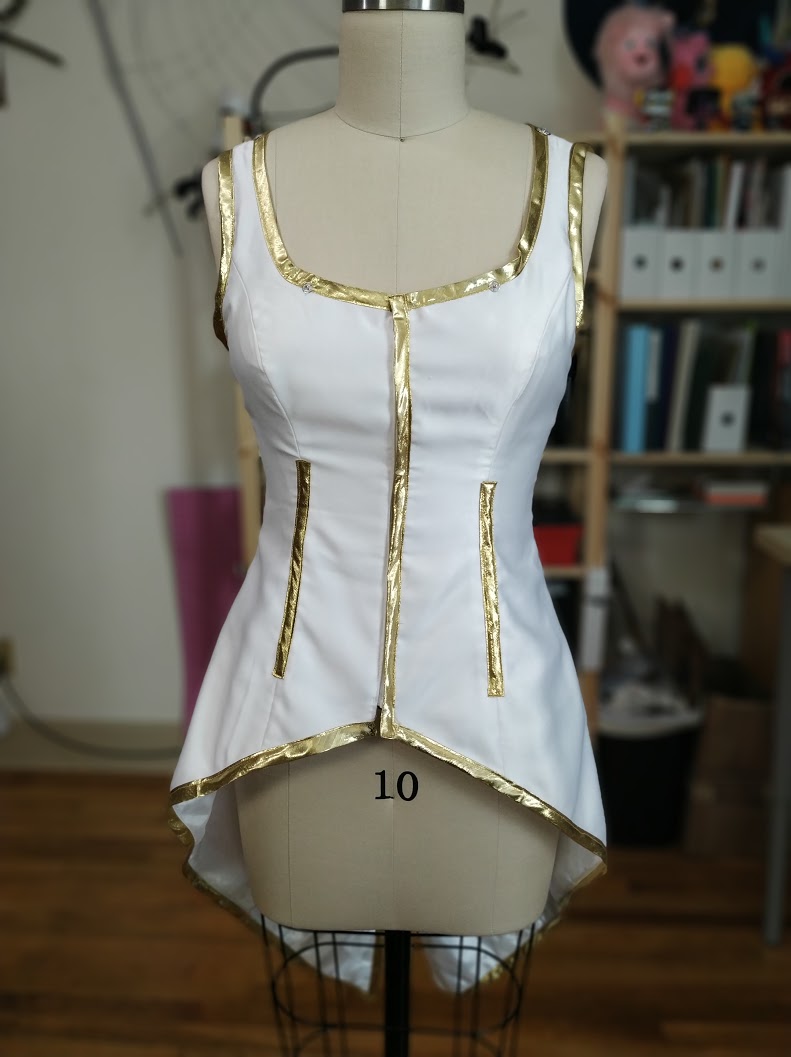
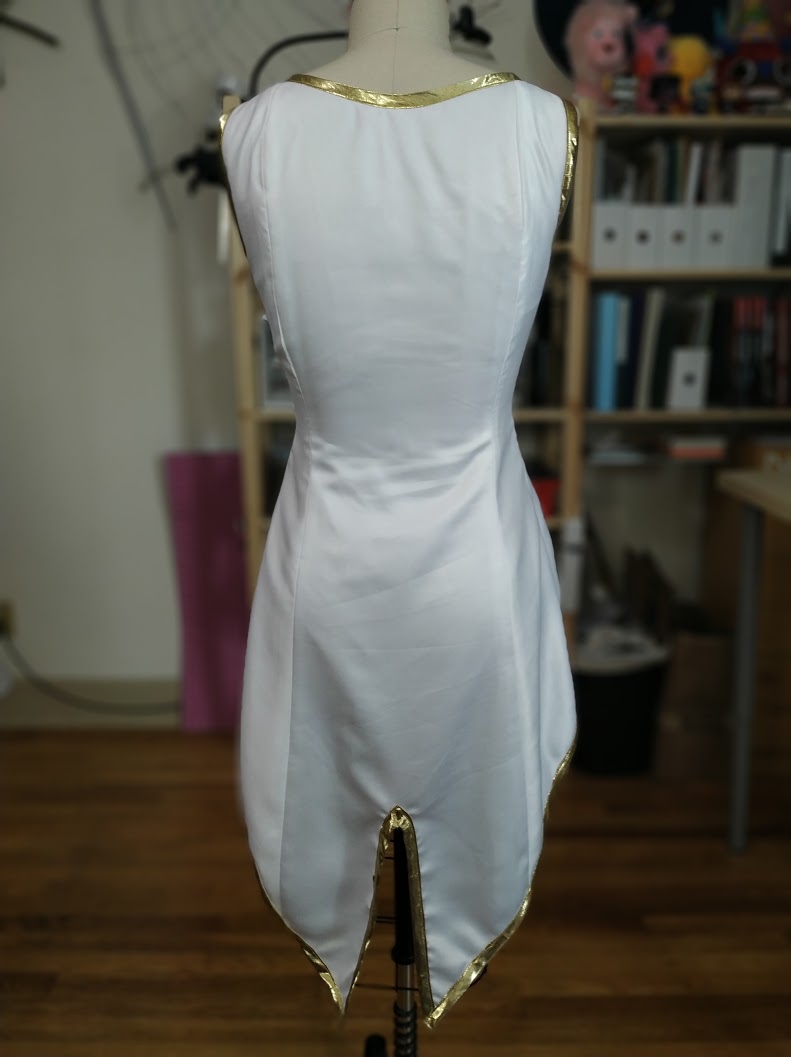
The vest was based on my standard princess seam pattern, which I use in a lot of cosplays. I used a matte white satin for the exterior fabric and lined the vest, as white fabric is always a little to see-through. The edges were finished using gold bias tape. I installed a separating center front zipper as the closure in the front, with a slight overlap to hide the zipper.
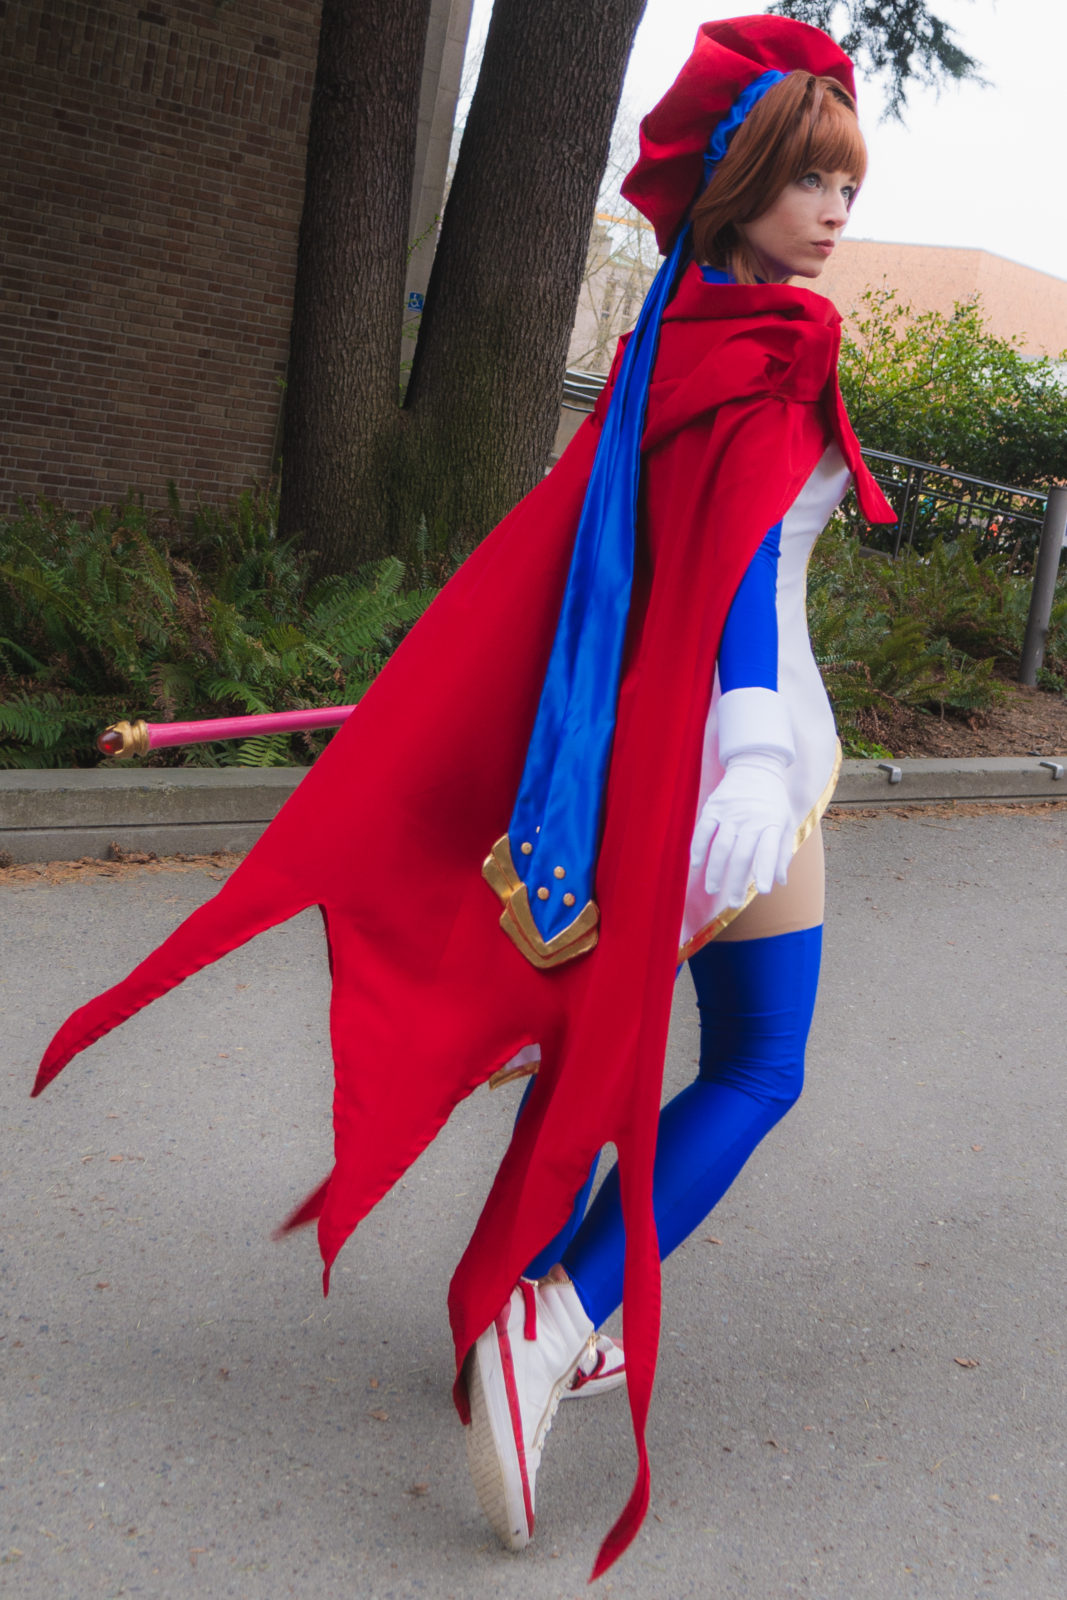
Cape
The cape was a pretty simple in construction. I used one of my favorite fabrics, peachskin matte satin, which has such a lovely drape and color. It started as a single rectangle of fabric, that I angled the two long edges on, and then added darts at the shoulder seam to get it to fit around my shoulders. I wanted it to sit open, which is why I didn’t construct it like a traditional cloak.
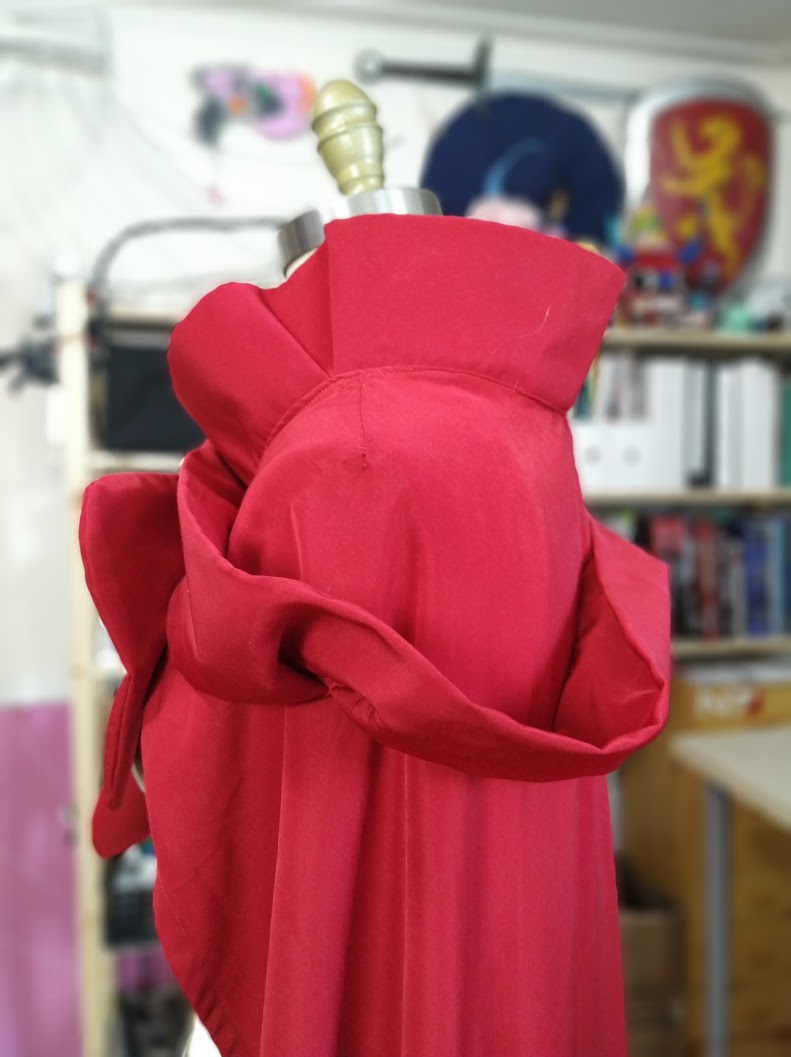
The silliest part of the cape was the two collars (seriously Tomoyo, why?). Both collars were rectangles of fabric, with interfacing to add stability. To help give volume to the collars I added pleats into them at the shoulders so they would sit outwards and not flop inwards.
The neckline of the cape was wide enough that I could slip it over my head, so there is no closure at the front, the two ends are just sewn together, at and angle to get the right drape over the shoulders, and the bow is the sewn directly on top.
The bow was made in the style of a lot of cosplay bows, where it isn’t actually a bow but several separate pieces, assembled to look like a bow. You can grab this as part of the cosplay patter, or a number of different online tutorials can show you how to make bows (like this one).
Accessories
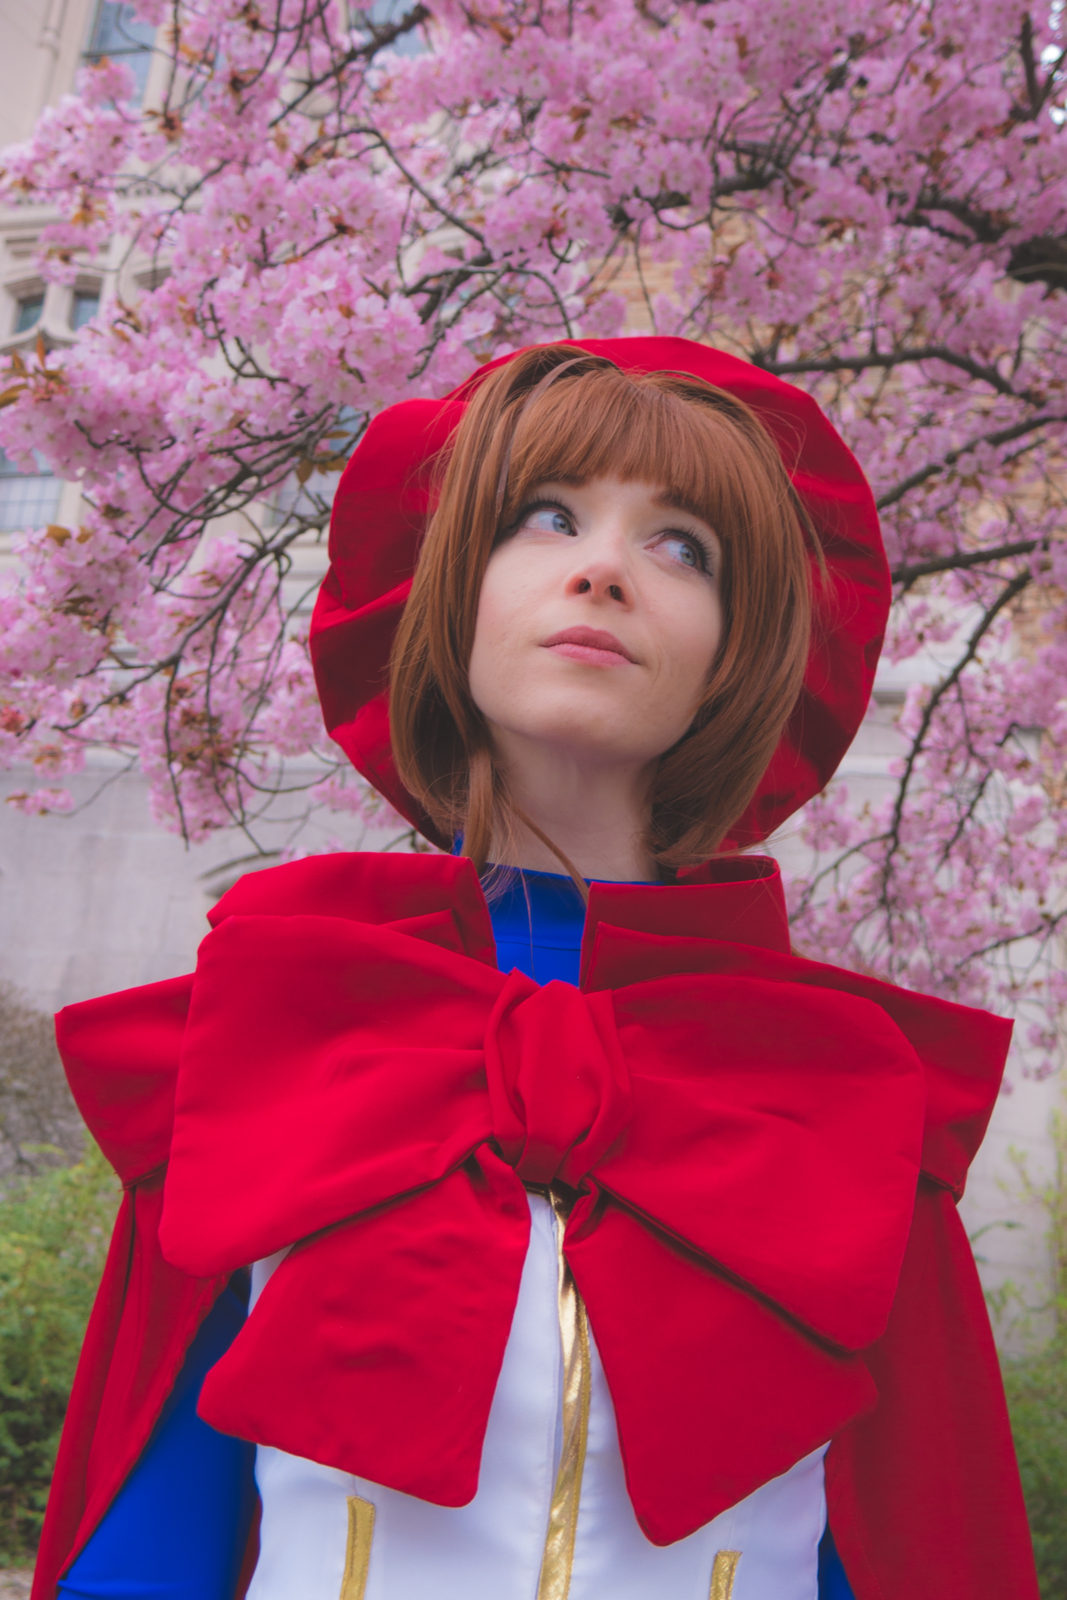
The hat is a basic beret style, using interfacing to give it structure. It is essentially one big circle (about 15in diameter), and a second circle with a smaller circle cut out of it, and then an elastic band to keep it on. I also added a comb and some beret clips to really secure it to my wig.
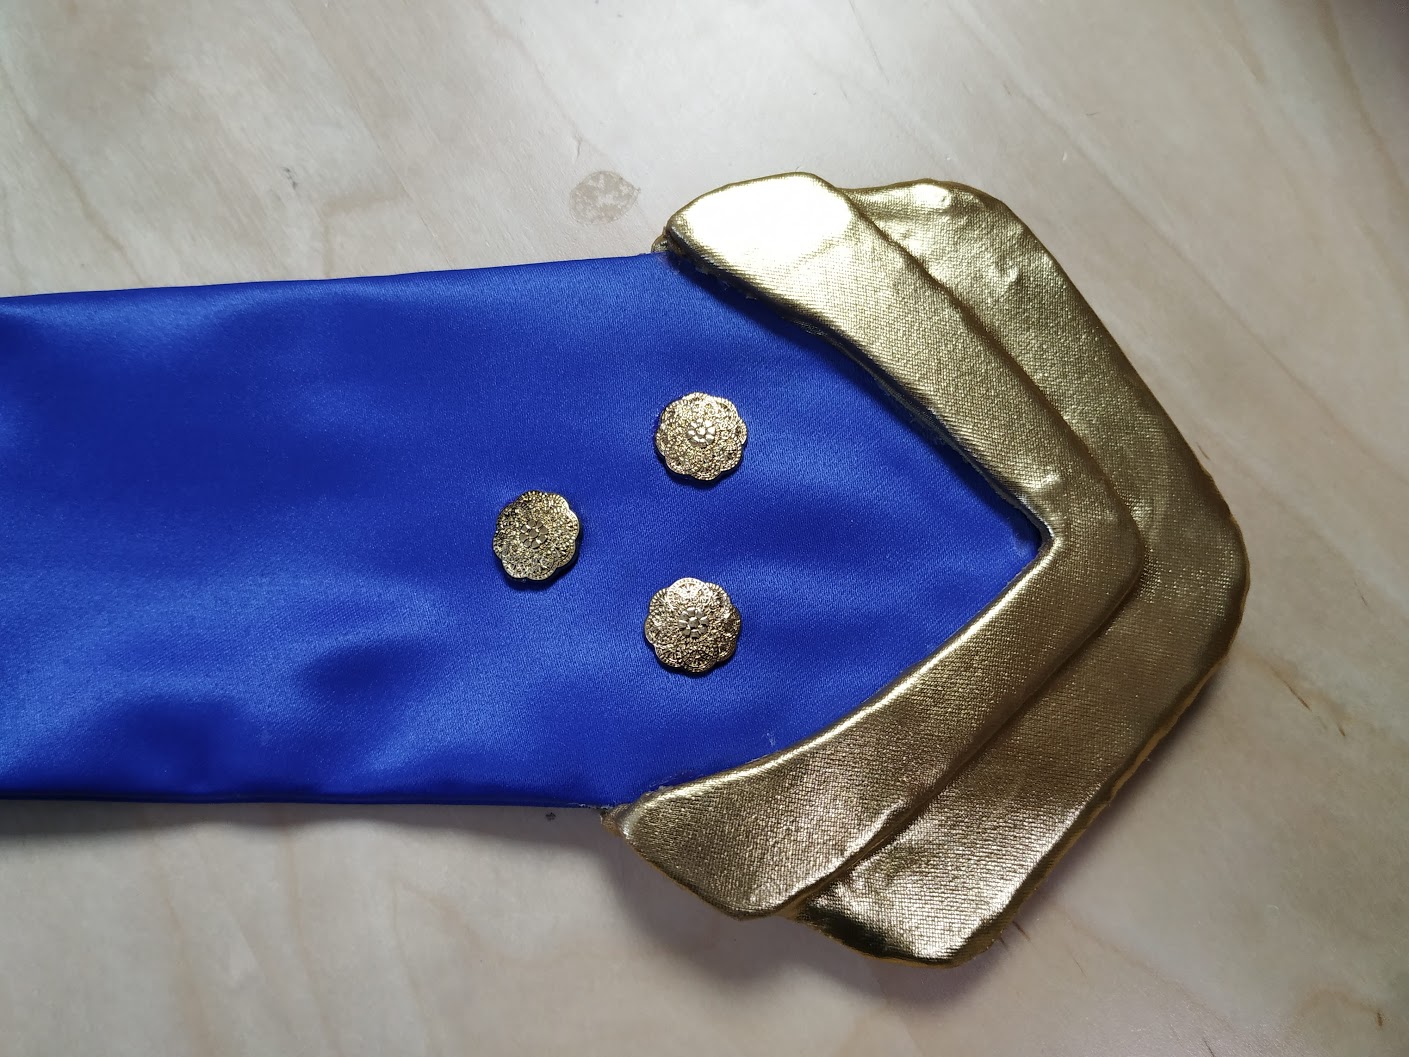
The tails were strips of fabric, also with interfacing, I tried adding wire to them, but that ended up twisting and just not looking right, so they don’t quite have the magical girl flare. The ends were made from EVA foam layered around the blue fabric to finish the ends, and then covered in gold spandex fabric. Lastly, the gold circles were just gold buttons I glued in place!
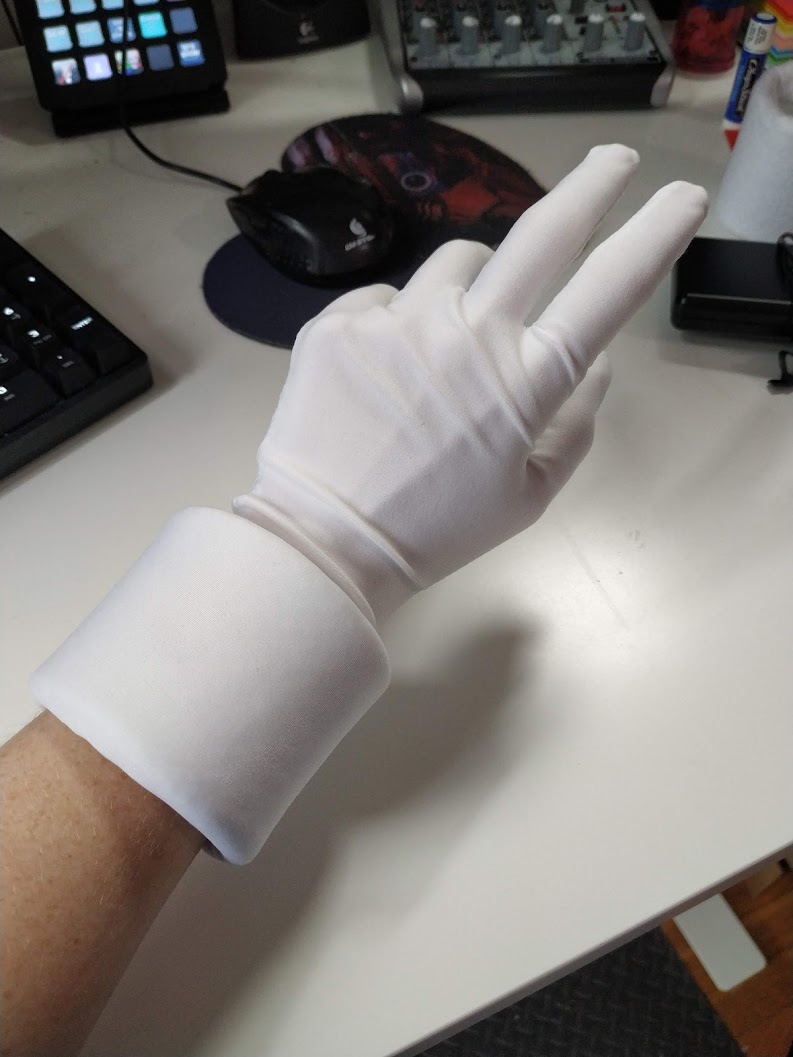
The gloves were made in the classic cosplay glove style, tracing my hand and sewing the two sides together. The cuff was made from EVA foam covered in fabric, which I ended up hand stitching to the glove base. Just make the EVA foam right big enough to get your hand through!
The wig was purchased already styled, just needed the bangs trimmed and I used a little glue to keep the hair antennae separated.
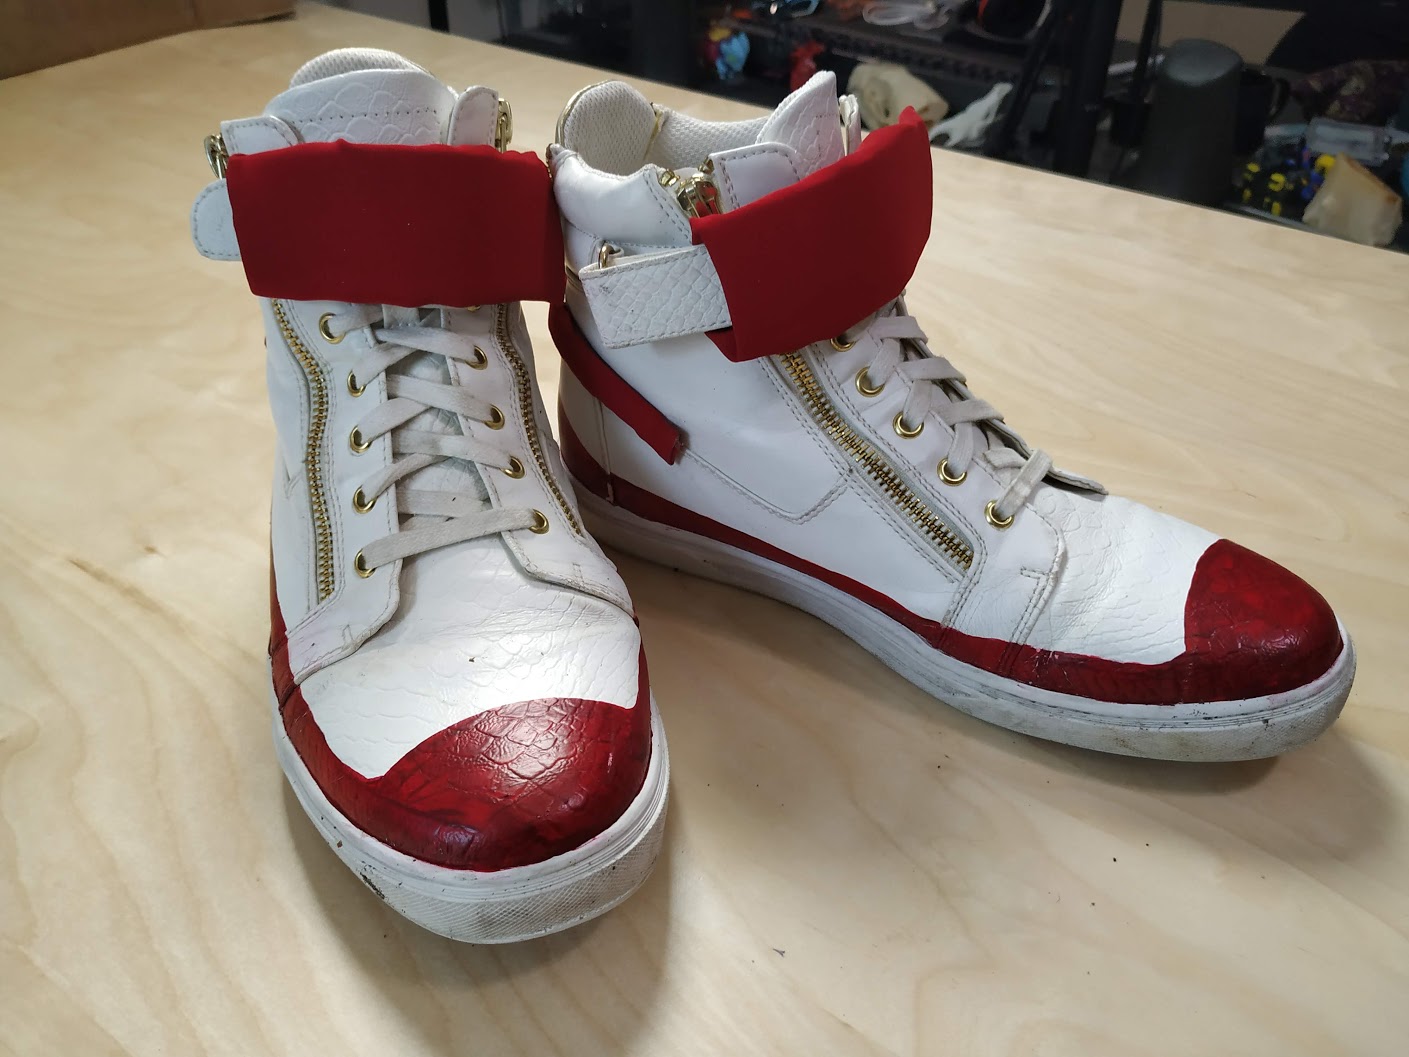
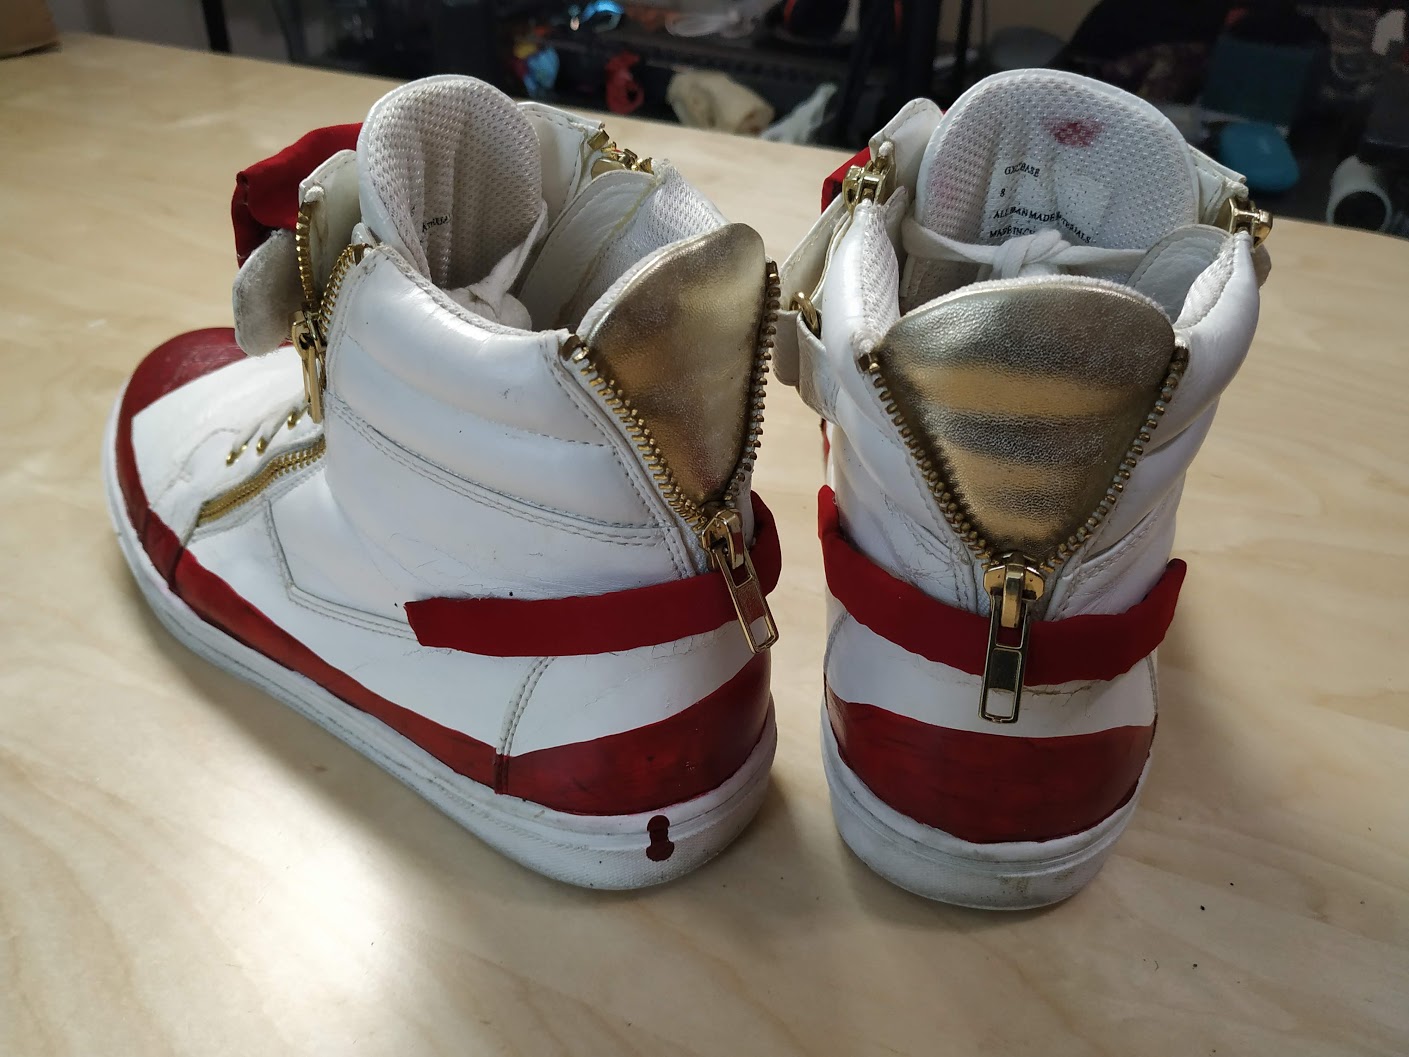
The shoes started as a base of white high top sneakers (the ones I found also had some gold detailing, which I felt fit with the overall look). I then painted the edges using red leather paint, and added the loop of red fabric (reinforced with EVA foam) to the Velcro strap, and another strip around the back, to match with the look from the show.
The card was made by the amazing Steph MHC (who also took the cherry blossom pictures). You can see her detailed write up on thje process on her Patreon.
To see more images of the cosplay head over to flickr or Patreon. You can also see my staff tutorial on my blog.